The process of mixing your own henna at home can seem like a daunting one! You may have wanted to try but just didn't know where to start. You may have tried but your end results were not what you were expecting. It can be frustrating, especially if you don't have someone by your side helping you through it! This picture tutorial will walk you though the henna making processes, step by step!
To begin with - it is best to gather all of the materials that you need before beginning!
You will need:
- 50g of triple sifted henna powder
- 10ml of essential oils
- lemon juice
- granulated sugar
- a large glass mixing bowl
- a mixing spoon
- a teaspoon
- a measuring cup
(I am using the full 100 grams from the Jamila box, so I will actually use 20 mL of essential oil)

Once you have opened your henna and dumped it into your glass bowl, you will need to add 1tsp of granulated sugar. The sugar gives the mixed henna paste a stringy, sticky like texture that allows it to flow more consistently from the cone when being applied to the skin.

When using 50g of henna powder you will need to measure out approximately 125ml of lemon juice. Now - I say approximately because the required liquid quantity really depends on the heat and moisture in your home. You may find it helpful to keep a log on how much lemon juice you use each time you mix up a batch of henna.

Go ahead and dump that bad boy right into your bowl of henna powder and sugar!

I like to mix all of my lemon, henna powder and sugar together until I see no more "dry" in the bowl.
Once that happens then you can add in your essential oils.


And now the fun begins!

Mix, mix, mix!
Keep mixing!
When you think you have mixed enough - mix some more:)

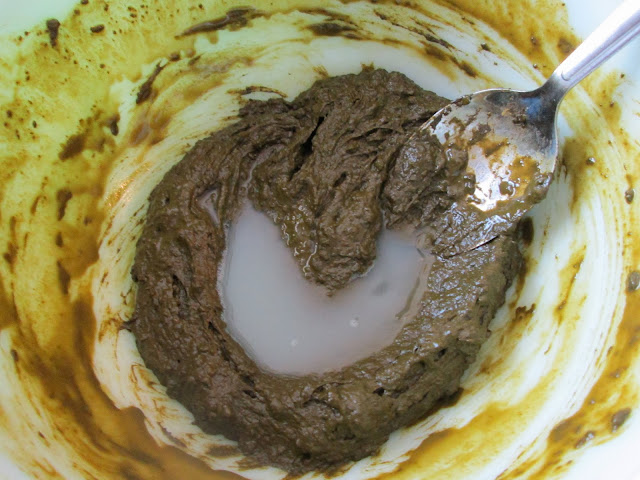
There came a time in my mixing process where I figured my paste was too dry. It just didn't have the "goopiness" I was looking for. Unfortunately, this can be something that is hard to judge:(
What you are looking for is a thick, pudding like consistency. If you do not have this consistency you need to add a little more lemon juice. I do this a very little bit at a time - stirring always.
This is when having a log to refer to is helpful.

Keep mixing:)
You must mix the henna until there are NO lumps!

Lumps in your paste = lumps in your cone and not only is a lump in your cone super frustrating but it can ruin your design if it pops out the end when you are working on something beautiful.

The paste should be beautifully glossy and when you pull your mixing spoon from the paste there should be a smooth flow of henna from spoon to bowl.


When you feel that your henna paste is that thick pudding consistency and you are sure you have NO lumps, you are done!

Now you will need some plastic wrap, some paper towel and a warm place for your henna to rest.
It is important that you place your first piece of plastic directly on top of the henna. By doing this you prevent the dreaded "skin" that can form on top when air gets trapped between your plastic and the henna. Once you have sealed in the henna you can place a piece of paper towel on the plastic and then cover the whole bowl with some more plastic. Be sure to seal it tightly and place your bowl in a warm, dark place for 12-24 hours. I put mine on top of my fridge.
Doing this allows the henna time to work its magic! (By magic, we mean dye release).


 Come back next week to learn how to fill cones for henna application!


To begin with - it is best to gather all of the materials that you need before beginning!
You will need:
- 50g of triple sifted henna powder
- 10ml of essential oils
- lemon juice
- granulated sugar
- a large glass mixing bowl
- a mixing spoon
- a teaspoon
- a measuring cup
(I am using the full 100 grams from the Jamila box, so I will actually use 20 mL of essential oil)

Once you have opened your henna and dumped it into your glass bowl, you will need to add 1tsp of granulated sugar. The sugar gives the mixed henna paste a stringy, sticky like texture that allows it to flow more consistently from the cone when being applied to the skin.
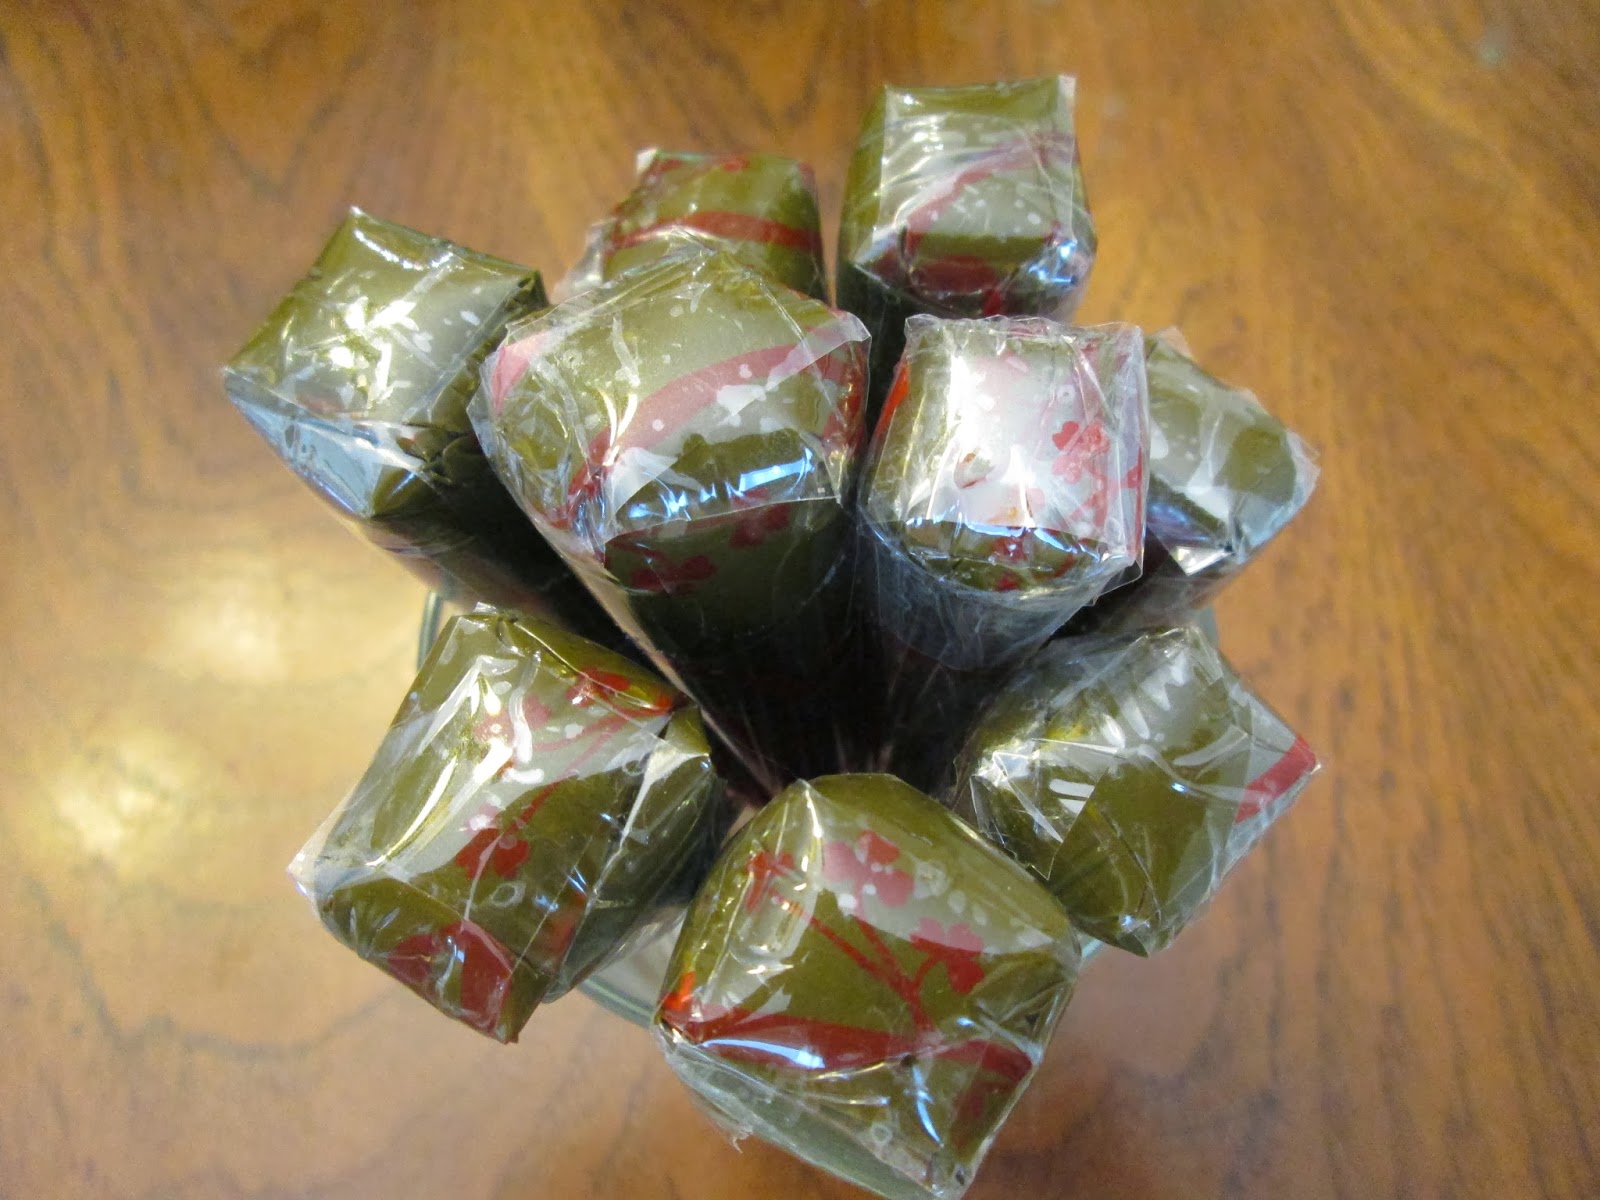
 |
| This is a photo of the triple sifted, body art quality, Jamila henna powder for 2013 (June crop) |

When using 50g of henna powder you will need to measure out approximately 125ml of lemon juice. Now - I say approximately because the required liquid quantity really depends on the heat and moisture in your home. You may find it helpful to keep a log on how much lemon juice you use each time you mix up a batch of henna.

Go ahead and dump that bad boy right into your bowl of henna powder and sugar!

I like to mix all of my lemon, henna powder and sugar together until I see no more "dry" in the bowl.
Once that happens then you can add in your essential oils.


And now the fun begins!

Mix, mix, mix!
Keep mixing!
When you think you have mixed enough - mix some more:)

There came a time in my mixing process where I figured my paste was too dry. It just didn't have the "goopiness" I was looking for. Unfortunately, this can be something that is hard to judge:(
What you are looking for is a thick, pudding like consistency. If you do not have this consistency you need to add a little more lemon juice. I do this a very little bit at a time - stirring always.
This is when having a log to refer to is helpful.


Keep mixing:)
You must mix the henna until there are NO lumps!

Lumps in your paste = lumps in your cone and not only is a lump in your cone super frustrating but it can ruin your design if it pops out the end when you are working on something beautiful.

The paste should be beautifully glossy and when you pull your mixing spoon from the paste there should be a smooth flow of henna from spoon to bowl.


When you feel that your henna paste is that thick pudding consistency and you are sure you have NO lumps, you are done!

Now you will need some plastic wrap, some paper towel and a warm place for your henna to rest.
It is important that you place your first piece of plastic directly on top of the henna. By doing this you prevent the dreaded "skin" that can form on top when air gets trapped between your plastic and the henna. Once you have sealed in the henna you can place a piece of paper towel on the plastic and then cover the whole bowl with some more plastic. Be sure to seal it tightly and place your bowl in a warm, dark place for 12-24 hours. I put mine on top of my fridge.
Doing this allows the henna time to work its magic! (By magic, we mean dye release).